
How To Add Facebook Pixel Code In WordPress

by Olivia Pasfield
So you have a fantastic website, a social media presence and you're ready to dip your toes into the world of Facebook advertising for the first time to help promote yourself online. Great idea! As a Facebook Ads Management Agency, we can vouch for it being one of the most powerful PPC (pay-per-click) tools you can use to achieve your marketing goals.
However, in order to get the most out of your Facebook Ads, you need to ensure that you are tracking the actions that your website visitors take. To do this, you will need to know how to add your Facebook pixel to WordPress. This will allow you to set up conversion tracking for both standard events and custom conversions which you can use to make optimisations on your Facebook ad campaigns within Facebook Ads Manager to enhance their performance.
Although it may seem daunting, adding your Facebook pixel to WordPress is relatively easy to do. Within this article, you will learn how to manually add your Facebook pixel tracking code via a free plugin with WordPress and how to install your Facebook pixel via Elementor Pro.
Installing via Elementor Pro
Elementor Pro is a fantastic page builder that allows everyone to create beautiful looking webpages for your WordPress site. One Pro feature that allows you to install a Facebook pixel tracking code into your WordPress site is the Custom Code tool, this tool can allow you to install code to your entire site or specific pages depending on your needs.
Applying the Facebook pixel tracking code to your entire site can be done quickly by following these steps:
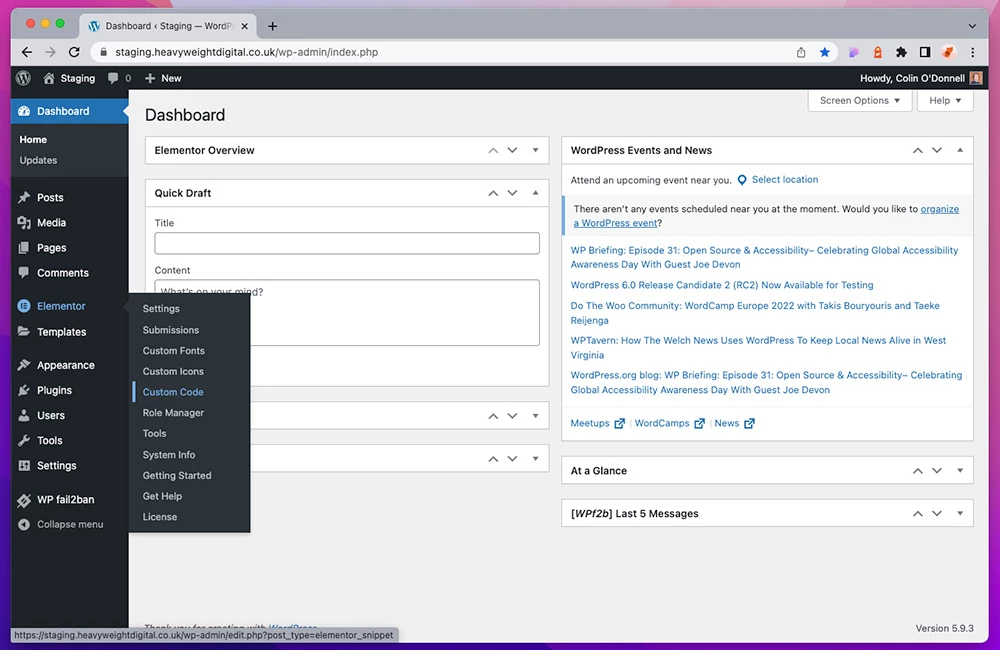
On your WordPress site's dashboard, hover over Elementor on the left sidebar, if you have a Pro license you should see 'Custom Code', click it.
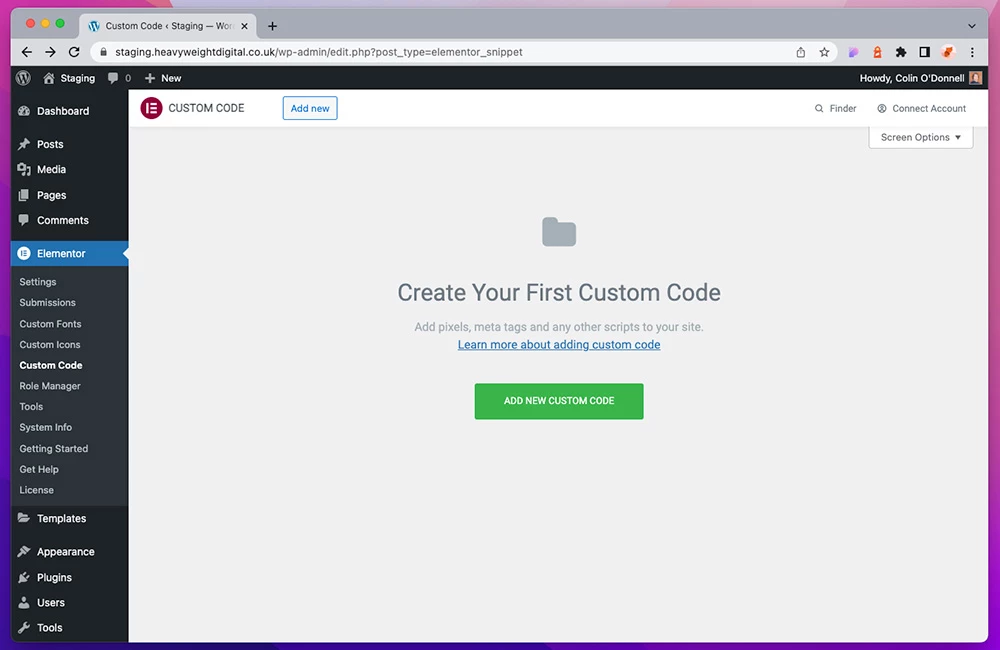
If you have not created a custom code within Elementor before, the following screen will prompt you to create your first custom code, press the 'Add New Custom Code' button (or if that is not there, you can click the 'Add New' button at the top of the page).
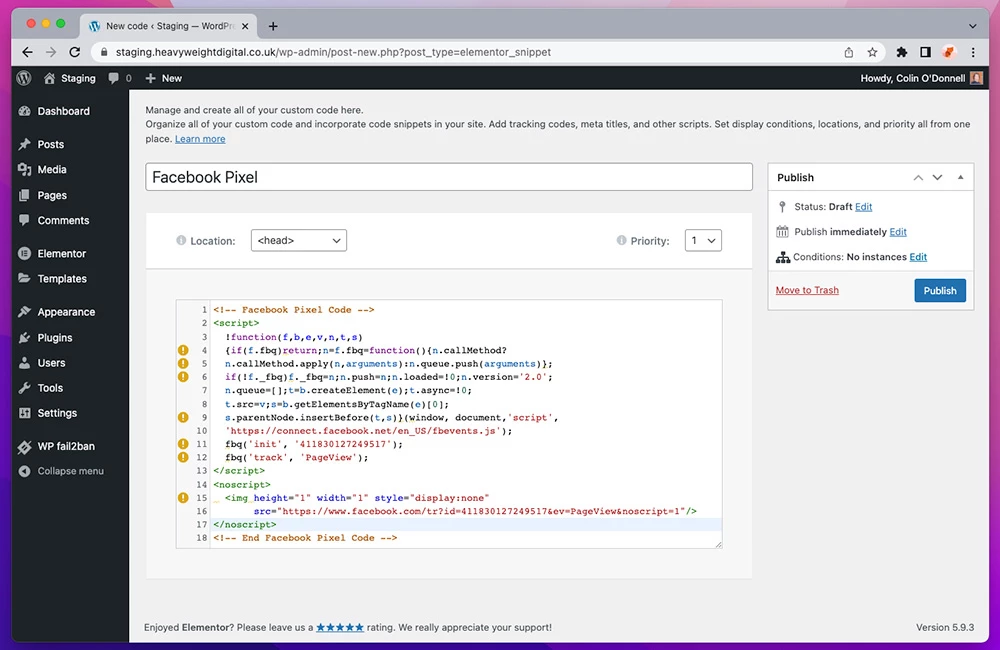
This screen is where you will be pasting in your Facebook pixel tracking code. The first text box is just to give your custom code an identifiable name. In the large text box below what we just named this code, here is where you want to put the pixel code. Once you have pasted this in, just hit Publish to the left!
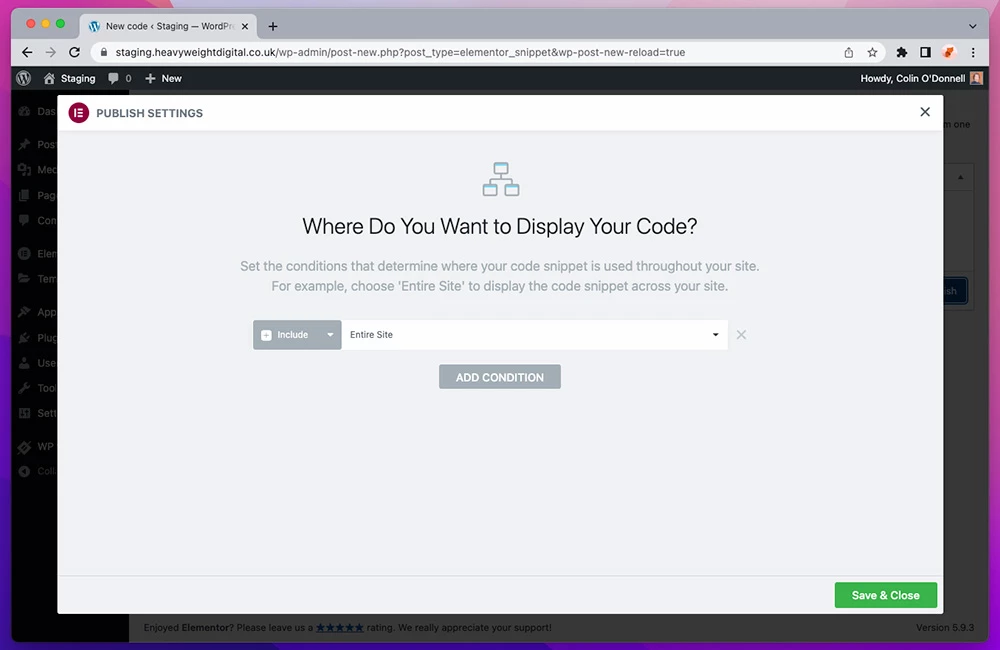
Once published, you will be asked which pages you want your pixel to be added to, for this we would suggest applying it to your entire site so the tracking code works on every page. That's it! The code will now be running on each page of your WordPress site.
Installing via WordPress Plugin
Not every WordPress website may be built using Elementor Pro, but don't fret! There are many plugins available that can help you manually install your Facebook Pixel tracking code on your WordPress site. One of the many benefits of using a WordPress site is that it has access to a library of free plugins, some of which will allow you to install code manually.
For this guide, the plugin we will be using is Insert Headers and Footers by WPBeginner as it makes adding in any custom code to your WordPress website a simple job in itself, it also has the added benefit of being a free plugin!
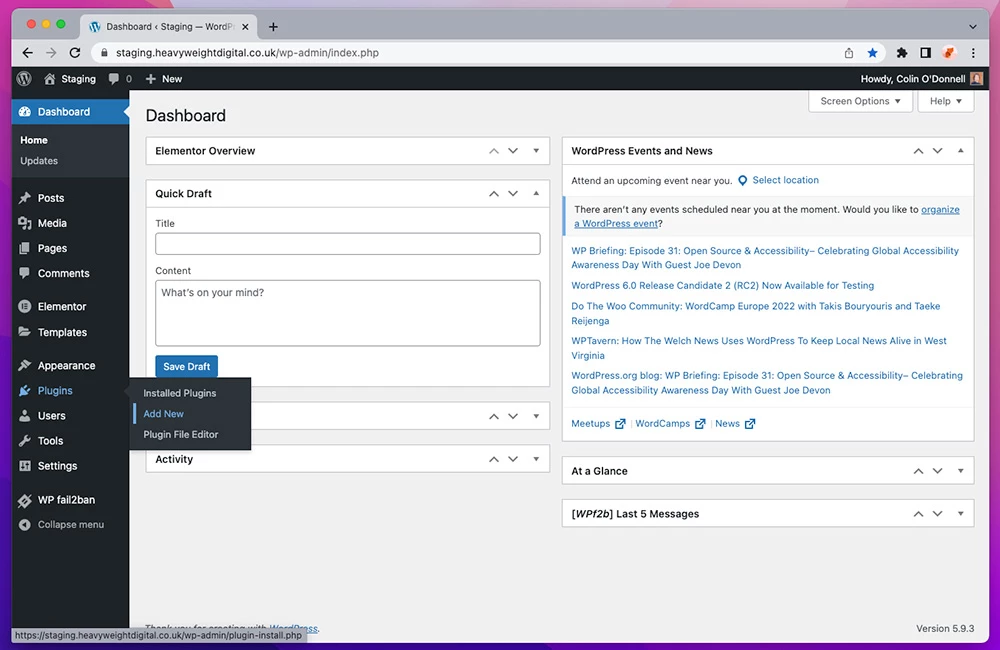
From your WordPress dashboard, you can select Add New plugin by hovering over the Plugin section on the sidebar.
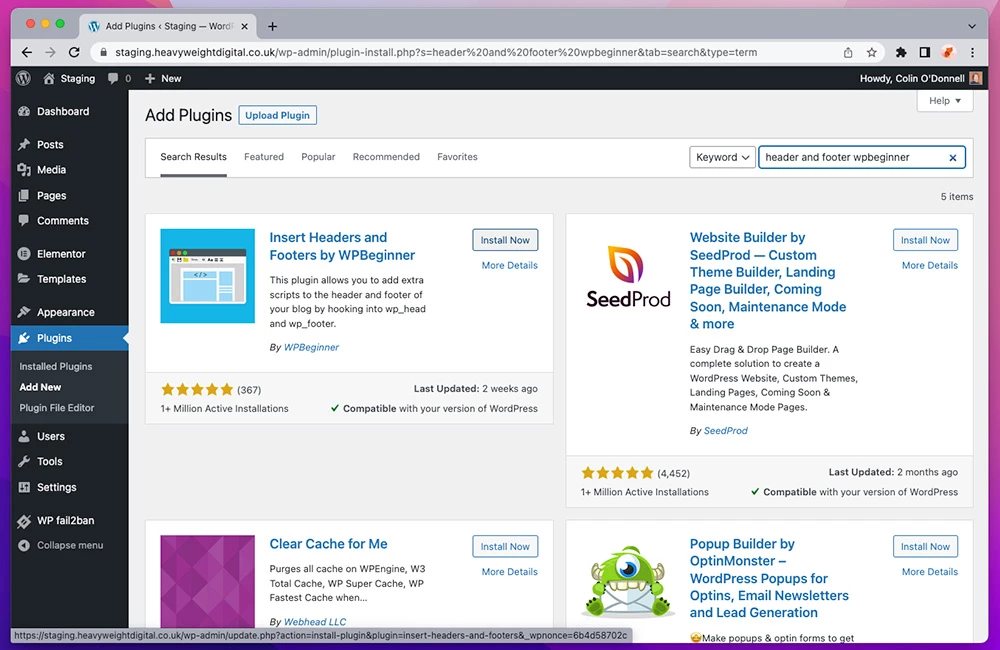
Looking at the New Plugin page, you will be able to search for a free plugin to add header code to WordPress manually. We've gone with the Insert Headers and Footers plugin by WPBeginner. Select install, and once it has been installed, activate it.
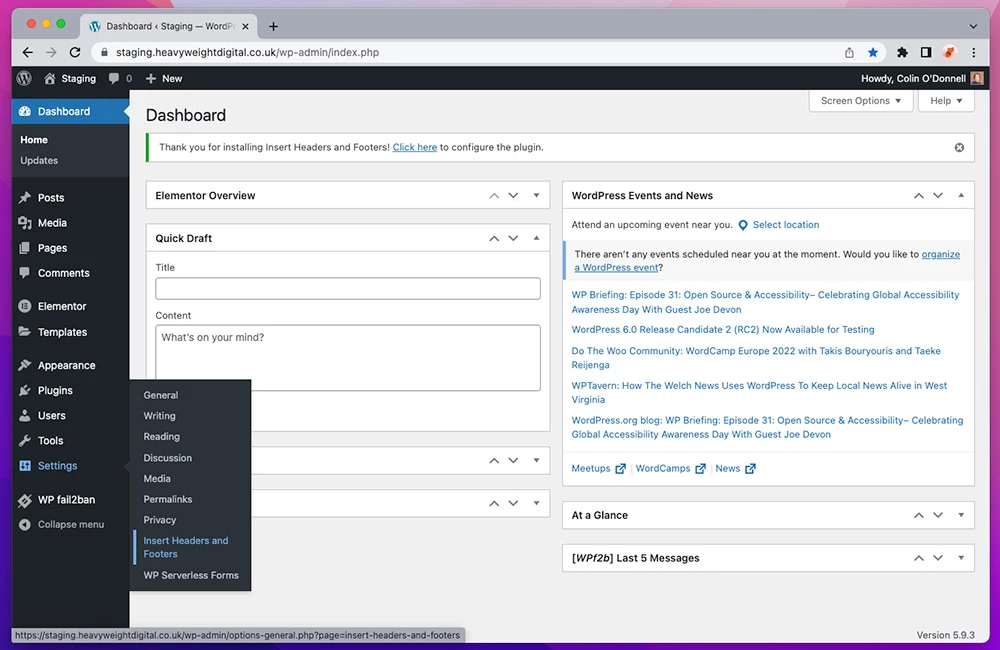
To add Facebook pixel tracking code to your website, hover over the settings section of the sidebar to reveal Insert Headers and Footers. Click this to find where you can add your Facebook pixel to WordPress.
There will be two text boxes, the top one is the header box. Paste your tracking code into this field and save your changes by scrolling to the bottom of the page and hitting save. All done!

Ensure that your Facebook pixel has been added to your WordPress site correctly
Once you have installed Facebook pixel using either of the above methods, you will need to ensure that the Facebook pixel is firing correctly on your website. To test that your Facebook pixel is firing correctly, download the Facebook Pixel Helper chrome extension. Once you have downloaded and installed the chrome extension, pin it to your taskbar so that it is easily accessible.
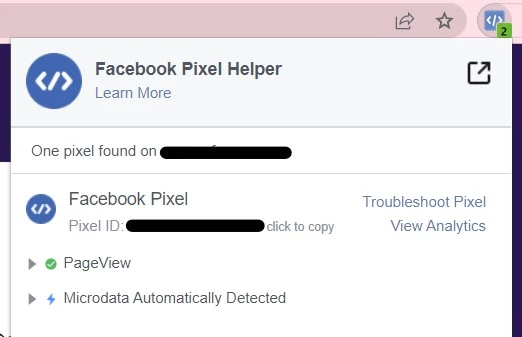
Go to your website and click on the Facebook Pixel Helper extension.
If your Facebook pixel setup has been successful, you will be able to see the Facebook pixel ID, ensure this aligns with the Facebook pixel ID that you have set up in Events manager.
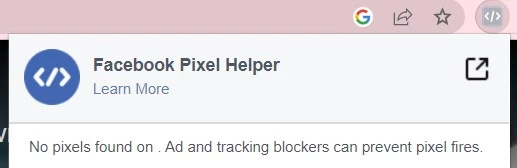
If your Facebook pixel setup has been unsuccessful then the Facebook Pixel Helper will say no pixels found. If this is the case, go back through the steps of your desired setup and ensure that you have completed each step correctly.
Conclusion
There are two ways to add your Facebook pixel to your website, once you have done so you will be able to track your website visitors and use this information to make informed optimisations within your Facebook ad account such as targeting custom audiences.
If you are struggling to add your Facebook pixel to your website, contact our team and we will be able to assist you.