How To Track WP Form Submissions with Google Tag Manager

by Emma White
There are so many form options for your website, but whichever you choose, you want to make sure that true form submissions can be reliably tracked, especially if you are running any kind of online marketing. If you are running Google Ads, you’ll need form tracking so a successful form submission can be correctly attributed as a conversion in the platform, but you will also want the data in Google Analytics, so that organic form submissions can also be counted.
Whether you are setting up tracking for your own business, or from a PPC agency setting up tracking for a client, tracking successful submissions is very important!
WP Forms is one of the many options available to you, and we’re going to go through how you can reliably track a successful form submission in a way that doesn’t get mixed up with failed submissions. We can also track different forms separately, or all forms in one tracking method.
Enable AJAX
The most reliable way to track WP Forms is to enable AJAX, so all the forms will use this.
Before starting, make sure “Enable AJAX form submission” is turned on in your WP Forms settings.
You can do this by editing your WP form from the form dashboard, then navigating to settings, and scrolling to the bottom where you will find the “Enable AJAX form submission” toggle.
Step 1: Create the AJAX Listener Tag
The first thing to do is create a tag in Google Tag Manager for the AJAX listener. This will “listen” for certain responses on your website, allowing the following elements we set up to function.
Go to the GTM container that is deployed on your website. Create a new tag, name it “AJAX Listener” and select Custom HTML for the tag configuration. Then enter the code below into the box.
Set the Trigger to all pages.
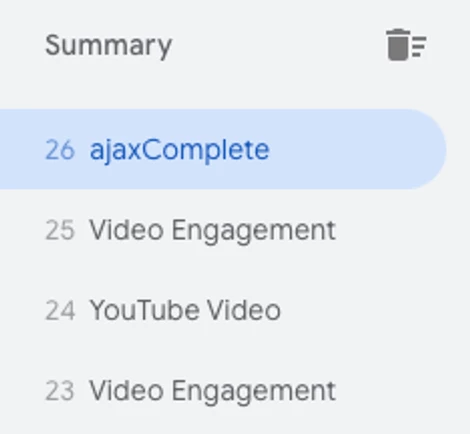
Now test that the listener is working. Enter debug/preview mode, and enter the page on your website that has the form you want to test. Fill out a test submission, and see if “ajaxComplete” appears in the left events menu. If it does, the listener works!
<script id="gtm-jq-ajax-listen" type="text/javascript">
    (function() {

        'use strict';
        var $;
        var n = 0;
        init();

        function init(n) {

            // Ensure jQuery is available before anything
            if (typeof jQuery !== 'undefined') {

                // Define our $ shortcut locally
                $ = jQuery;
                bindToAjax();

            // Check for up to 10 seconds
            } else if (n < 20) {
                n++;
                setTimeout(init, 500);
            }

        }

        function bindToAjax() {

            $(document).bind('ajaxComplete', function(evt, jqXhr, opts) {

                // Create a fake a element for magically simple URL parsing
                var fullUrl = document.createElement('a');
                fullUrl.href = opts.url;

                // IE9+ strips the leading slash from a.pathname because who wants to get home on time Friday anyways
                var pathname = fullUrl.pathname[0] === '/' ? fullUrl.pathname : '/' + fullUrl.pathname;
                // Manually remove the leading question mark, if there is one
                var queryString = fullUrl.search[0] === '?' ? fullUrl.search.slice(1) : fullUrl.search;
                // Turn our params and headers into objects for easier reference
                var queryParameters = objMap(queryString, '&', '=', true);
                var headers = objMap(jqXhr.getAllResponseHeaders(), '\n', ':');

                // Blindly push to the dataLayer because this fires within GTM
                dataLayer.push({
                    'event': 'ajaxComplete',
                    'attributes': {
                        // Return empty strings to prevent accidental inheritance of old data
                        'type': opts.type || '',
                        'url': fullUrl.href || '',
                        'queryParameters': queryParameters,
                        'pathname': pathname || '',
                        'hostname': fullUrl.hostname || '',
                        'protocol': fullUrl.protocol || '',
                        'fragment': fullUrl.hash || '',
                        'statusCode': jqXhr.status || '',
                        'statusText': jqXhr.statusText || '',
                        'headers': headers,
                        'timestamp': evt.timeStamp || '',
                        'contentType': opts.contentType || '',
                        // Defer to jQuery's handling of the response
                        'response': (jqXhr.responseJSON || jqXhr.responseXML || jqXhr.responseText || '')
                    }
                });

            });

        }

        function objMap(data, delim, spl, decode) {

            var obj = {};

            // If one of our parameters is missing, return an empty object
            if (!data || !delim || !spl) {
                return {};
            }

            var arr = data.split(delim);
            var i;

            if (arr) {

                for (i = 0; i < arr.length; i++) {

                    // If the decode flag is present, URL decode the set
                    var item = decode ? decodeURIComponent(arr[i]) : arr[i];
                    var pair = item.split(spl);

                    var key = trim_(pair[0]);
                    var value = trim_(pair[1]);

                    if (key && value) {
                        obj[key] = value;
                    }

                }

            }

            return obj;

        }

        // Basic .trim() polyfill
        function trim_(str) {
            if (str) {
                return str.replace(/^[\s\uFEFF\xA0]+|[\s\uFEFF\xA0]+$/g, '');
            }
        }

    })();

    /*
    * v0.1.0
    * Created by the Google Analytics consultants at http://www.lunametrics.com
    * Written by @notdanwilkerson
    * Documentation: http://www.lunametrics.com/blog/2015/08/27/ajax-event-listener-google-tag-manager/
    * Licensed under the Creative Commons 4.0 Attribution Public License
    */
</script>
Code sourced from Analytics Mania.
Step 2: Create the Data Layer Variable
Now we will create the Data Layer Variable that will later allow us to trigger an event based on AJAX true responses only from WP Forms. This is especially important if there are other AJAX elements on your website that could also return a true response.
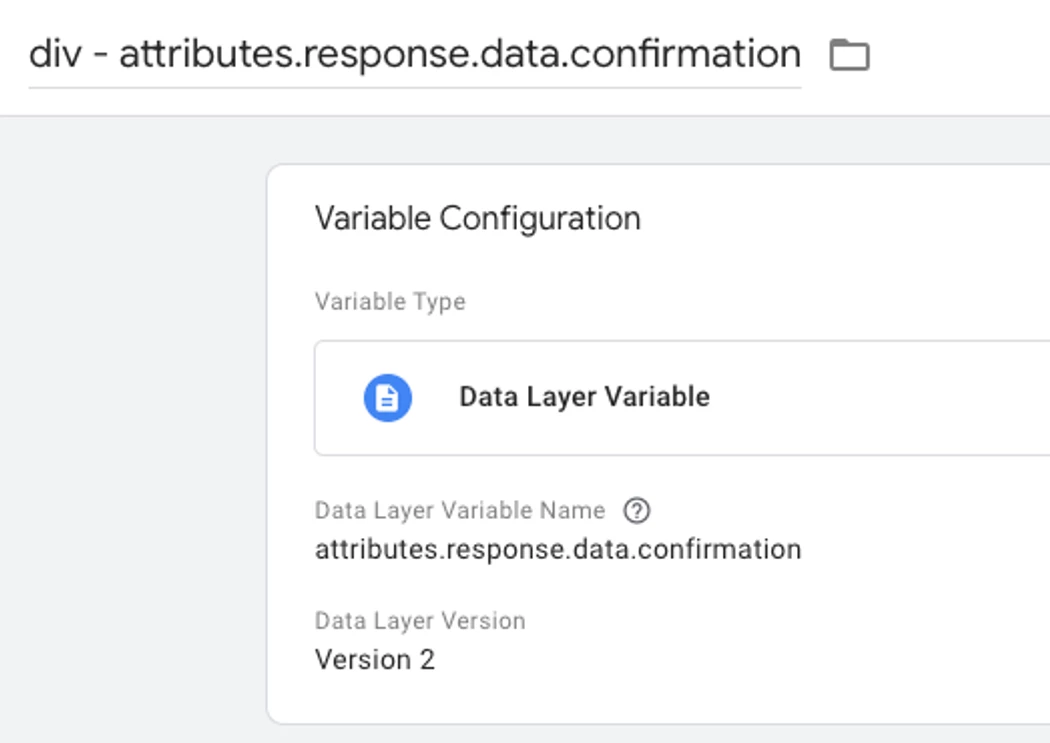
In the main GTM tab, go to Variables in the left menu, scroll down and click New to create a new variable, then under variable type, select Data Layer Variable.
Set the Data Layer Variable Name to attributes.response.data.confirmation. Name the Data Layer “div - attributes.response.data.confirmation”
Here you can test that the data layer variable is working correctly using the same method as step 1. This time, you will click on the ajaxComplete event, go to the variables tab, and scroll down to see if the div - attributes.response.data.confirmation variable has any information. It should be something like the below.

Step 3: Create the Trigger
Next you need to create the trigger that uses the Data Layer Variable, and determines when the form submission tag will fire.
Go to Triggers to create a new trigger.
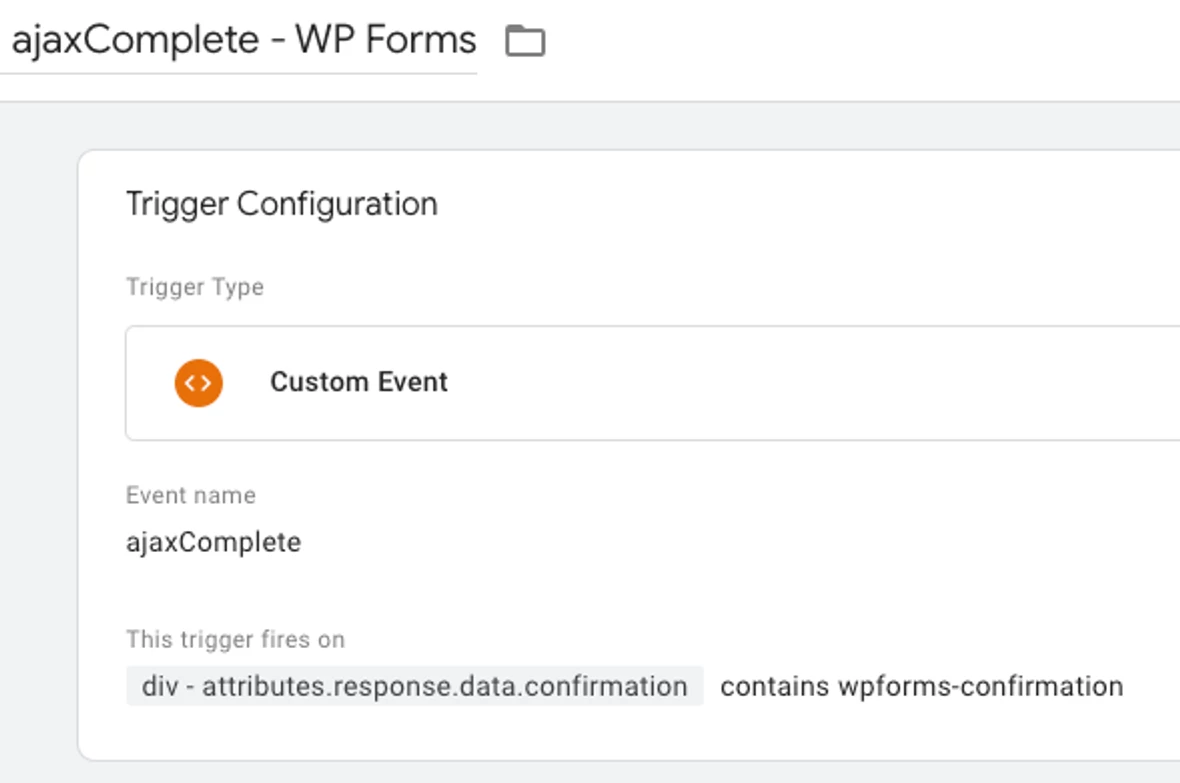
Select the Custom Event trigger type, enter ajaxComplete as the event name. Rember, the event name is case sensitive.
Select Some Custom Events from the two options, then select the variable you created from the drop down list.
Leave “contains”, then in the final box enter wpforms-confirmation. Name the trigger in a way that makes sense to you.
Note that for the final step, entering just “wpforms-confirmation” means that this tracking setup will track all WP Forms on your website with one event. However, if you want to track forms individually - say you have 2 forms that result in different types of leads - you will need to create this trigger and the following tag for each form.
Looking back at Step 2 where you created the Data Layer Variable, you will see in the example that the successful form submission returned “wpforms-confirmation-105”. 105 is the form ID. So when creating the trigger, if you want it to work for just this specific form and any instances of this form on your website, after “contains”, enter “wpforms-confirmation-105” replacing the number with whatever your form ID is.
Don’t want to go through every form on your website and fill it out to find out the form ID? Go to the WP form dashboard in your website admin area, and in the list of all of your forms you will see form ID as one of the columns.
Step 4: Create the Tag
Finally, you can create the tag that ties everything together.
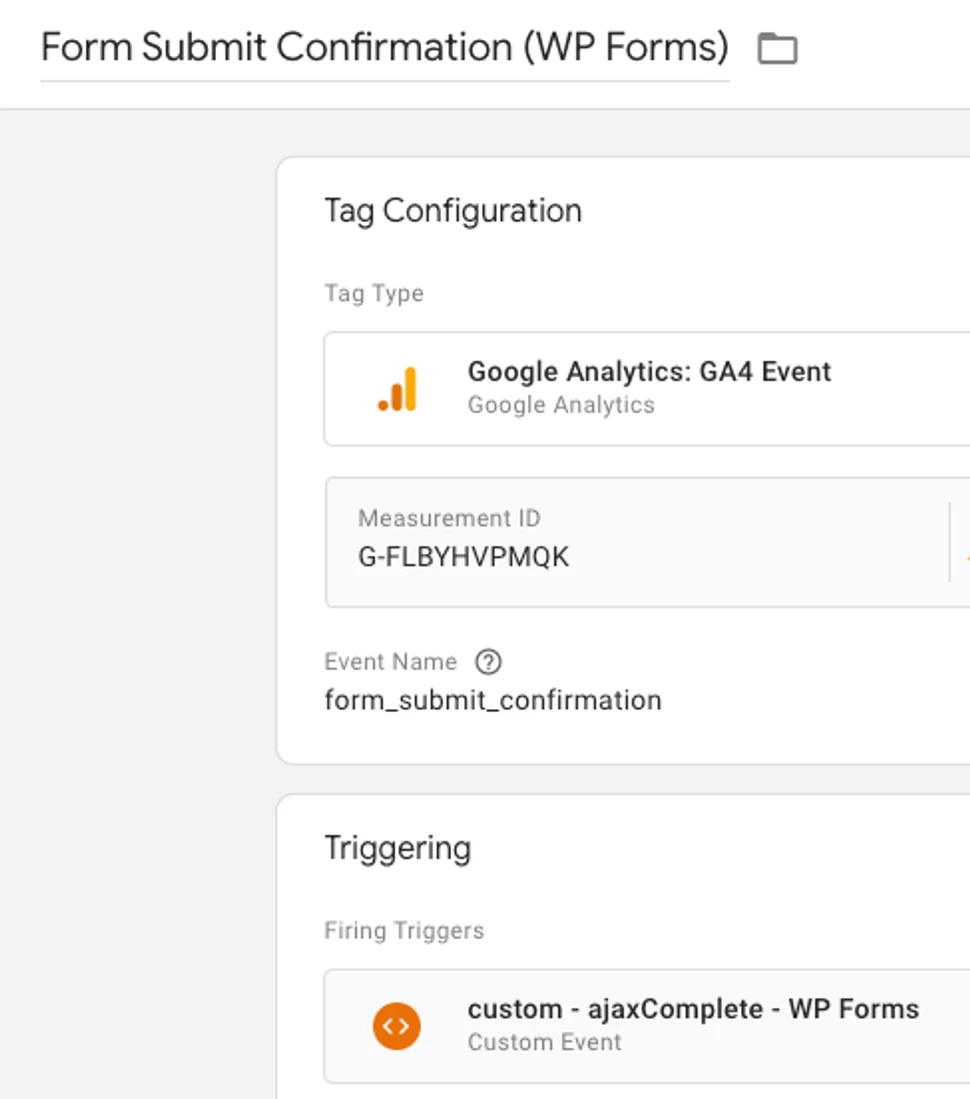
Create a new tag. For the Tag Configuration select Google Analytics > GA4 Event. Enter your GA4 measurement ID, which can be found under your data stream in GA4.
Set your event name. I went with “form_submit_confirmation” to imply a successful form submission, but you may want to be more specific if you are tracking specific forms separately.
For triggering, select the trigger you just made. Finally, name the tag in a way that makes sense to you.
Finally, test it all works! Enter preview mode, fill out your form, and see if the tag has fired under the ajaxComplete event.

If the tag has fired correctly, the event should show up in GA4, enabling you to mark it as a key event and import it into Google Ads to track as a conversion.
Conversion Tracking Success
Setting up conversion tracking is possibly one of the most important steps when building Google Ads campaigns. It should be the foundation of which you optimise, so you need to be sure you can trust the conversion data you are seeing.
Want to learn how to track phone calls? We have also covered how you can set up call tracking for Google Ads.